


With each December comes the holidays and school break. Kids are typically at home for some time over the holidays and with the unpredictable weather, they may be stuck inside for the majority of that time. It’s easy to get trapped in a spiral of holiday movies and TV specials, but it is also a great time to get crafty. Homemade winter crafts make great decorations and gifts for friends or family members. So get out those crafting materials and help your kids create some holiday magic! Below are some great winter craft ideas for kids.
Steps:
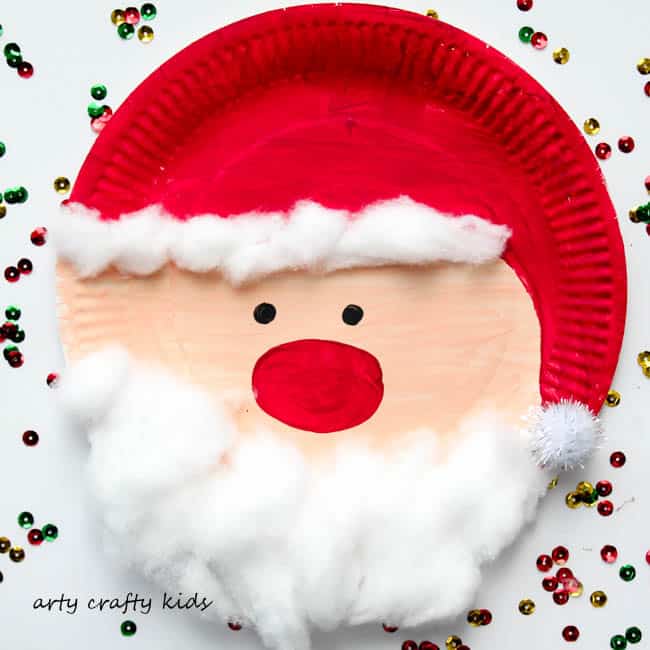
- Gather a paper plate, cotton balls, one white/silver pom-pom, glue, red paint, peach paint, and a black marker
- Paint the top third of the plate and a tail down the right edge with red paint and paint the bottom 2 thirds of the paper plate peach
- Paint a big red nose and draw two black eyes in the middle of the peach portion
- Rip the cotton balls into smaller pieces
- Spread glue on the plate and the border of the red and peach paint (for the hat cuff) and place cotton ball pieces to cover the glue
- Spread glue on the bottom of the plate for the beard and cover the glue with cotton balls
- Let dry and put on display
Steps:
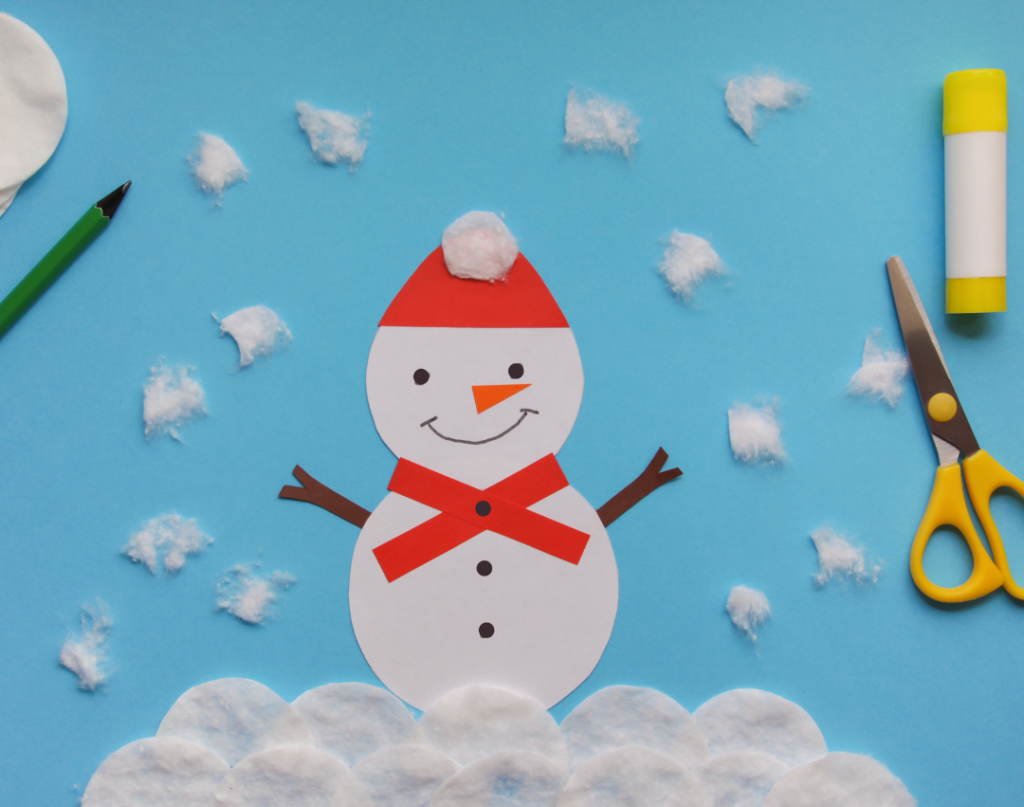
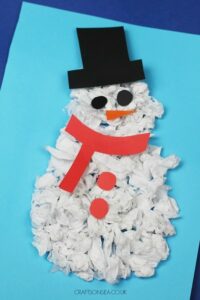
- Gather a piece of blue construction paper, scraps of black, red, and orange construction paper, white tissue paper, glue, and scissors
- On the blue construction paper draw the outline of a snowman; start with a large circle on bottom, a medium circle in the middle, and a small circle on top
- Rip the tissue paper into small pieces and scrunch them into small balls
- Cover the snowman with glue and tissue paper balls until it is covered
- Cut out a hat, eyes, nose, scarf, and buttons with the other colored construction paper
- Carefully glue the pieces on top of the tissue paper
- Let the glue dry and enjoy
Steps:
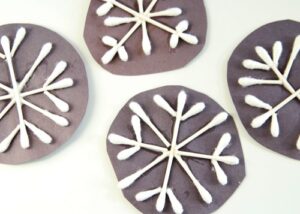
- Gather construction paper (blue typically but whatever color you want), glue, scissors, and Q-tips
- Cut the construction paper into a circle or whatever other shape you want your snowflake to be
- Use Q-tips to create a snowflake pattern, encourage the child to cut or break the Q-tips into different lengths and sizes
- Place small amounts of glue onto the paper and align the Q-tips in the snowflake pattern of your choice
- Let dry and enjoy

Hanukkah Star of David Sun Catcher
Steps:
- Gather craft sticks, blue and silver tissue paper, craft glue, a cup, water, aluminum foil, and a foam paint brush
- Use craft sticks to create a Star of David and glue into place on top of each other
- Tie a string around the top of your start so you can hang it when finished
- Place your start on a piece of aluminum foil (shiny side down) and cut small pieces of blue and silver tissue paper
- In a cup, mix craft glue with equal parts water
- Use the foam brush to apply the solution to a piece of tissue paper, place the tissue paper on the star, and use more solution to secure the tissue paper to the craft sticks
- Cover the start with pieces of tissue paper in this manner
- Let dry, hang up, and enjoyWe hope you enjoy making these winter crafts! For more winter activities that can help your child build language, check out our other blog here!Written by Jennifer Zapinski MSOT, OTR/L